Configuring ODBC User and System Client Data Sources
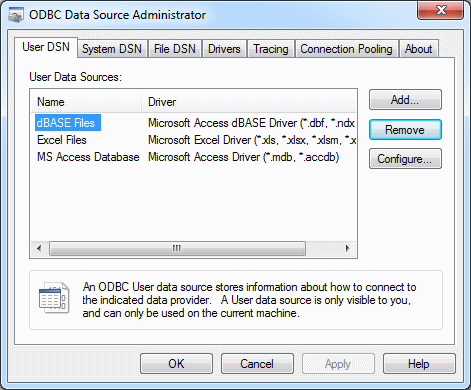
1. Start the ODBC Administrator. To start the ODBC Administrator, select Start / Programs / Progress DataDirect OpenAccess Client for ODBC 64-bit SDK 8.1. Then, select ODBC Administrator.
Note:The icon opens the 32-bit ODBC Administrator for the 32-bit ODBC driver even when the driver is installed on a 64-bit Windows system. If you start the ODBC Administrator using a different method, be sure to run the appropriate ODBC Administrator.
2. Click the User DSN tab or the System DSN tab to list user or system data sources, respectively.
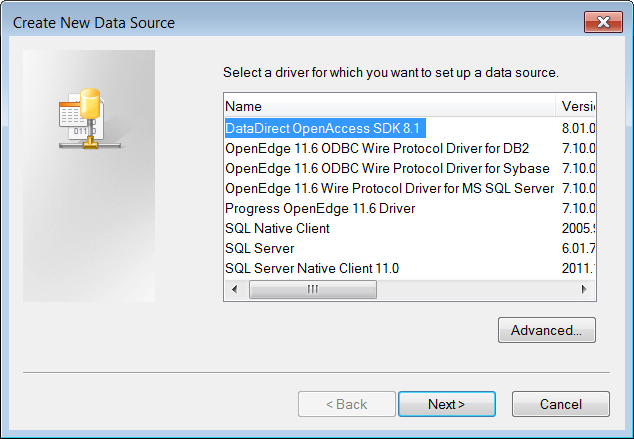
• To configure a new data source, click the Add button. The Create New Data Source window appears. Continue at Step 3.
• To change an existing data source, select the data source you want to configure and click the Configure button.
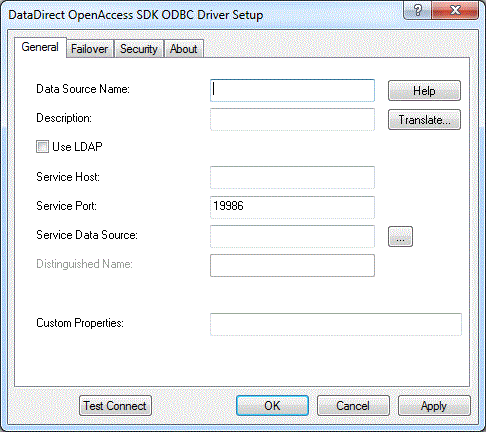
Translate: Click Translate to display the Select Translator dialog box, which lists the translators specified in the ODBC Translators section of the Registry.
Select a translator; then, click OK to close this dialog box and perform the translation.
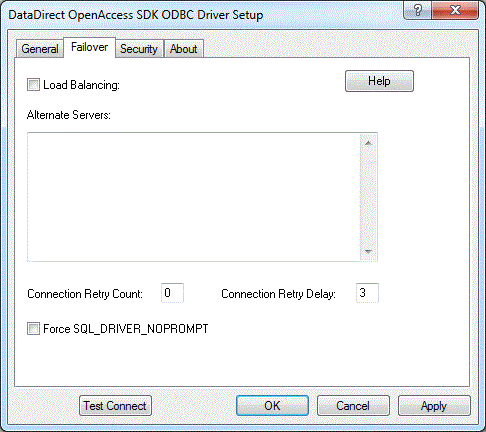
5. Optionally, click the Failover tab to specify Failover data source settings.
Configuration of encryption is performed on the OpenAccess SDK Server. For more information, refer to the OpenAccess SDK Administrator’s Guide.
7. At any point during the configuration process, you can click Test Connect to attempt to connect to the data source using the connection properties specified in the driver Setup dialog box. A logon dialog box appears; see Specifying ODBC Connection Attributesfor details.
Note that the information you enter in the logon dialog box during a test connect is not saved.
• If the ODBC Client can connect, it releases the connection and displays a Connection Established message. Click OK.
• If the ODBC Client cannot connect because of an improper environment or incorrect connection value, it displays an appropriate error message. Click OK.
Note:If you are configuring alternate servers for use with the connection failover feature, be aware that the Test Connect button tests only the primary server, not the alternate servers.
8. Click OK or Cancel. If you click OK, the values you have specified become the defaults when you connect to the data source. You can change these defaults by using this procedure to reconfigure your data source. You can override these defaults by connecting to the data source using a connection string with alternate values.