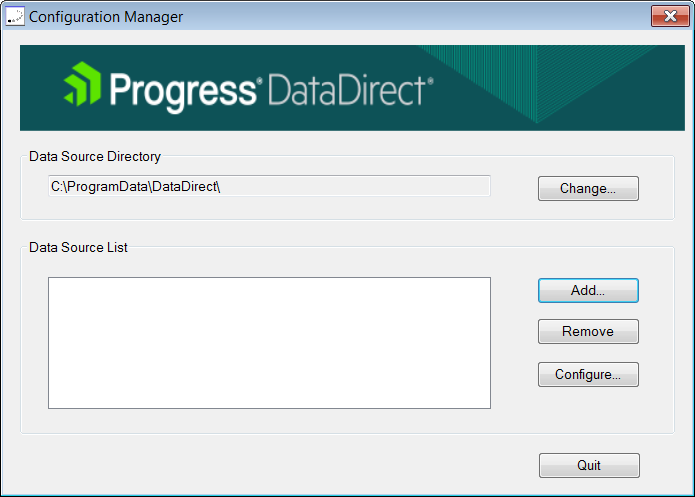
1. Start the DataDirect Configuration Manager. To start the Configuration Manager, select Start / Programs / Progress DataDirect OpenAccess Client for ADO SDK 8.1 / Configuration Manager. The Configuration Manager dialog box is displayed.
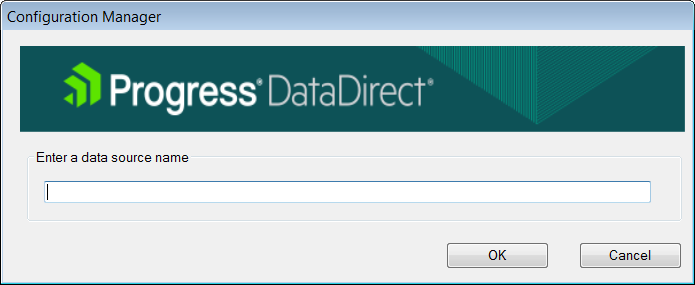
2. Select Add. The Configuration Manager dialog box provides a text entry field to enter a data source name.
3. Type a name for the data source. All data sources located in the same directory must have unique names. If the name has already been used for another data source, you are prompted to enter a different name.
4. Click OK.
The General tab of the DataDirect SSIS OLE DB Provider for OpenAccess SDK Setup dialog box appears by default.
NOTE: The General tab displays only fields that are required for creating a data source. The fields on all other tabs are optional, unless noted otherwise.
5. On the General tab, provide the following information; then, click Apply.
For more information about encrypting data, refer to the OpenAccess SDK Administrator’s Guide.
8. At any point during the configuration process, you can click Test Connect to attempt to connect to the data source using the connection attributes specified in the provider Setup dialog box. A logon dialog box appears; see Connecting to an ADO Client for details.
Note that the information you enter in the logon dialog box during a test connect is not saved.
• If the data provider can connect, it releases the connection and displays a Connection Established message. Click OK.
• If the data provider cannot connect because of an improper environment or incorrect connection value, it displays an appropriate error message. Click OK.
Note: If you are configuring alternate servers for use with the connection failover feature, be aware that the Test Connect button tests only the primary server, not the alternate servers.